Exporting Hires Transparent Bitmaps from Processing
One of the many things I love about Processing, especially within the commercial work I do, is its ability to export high resolution images suitable for print. Working with 2D vector based graphics makes it ideal for exporting a great quality PDF that I can then take into Photoshop or Illustrator at any size I need.
However if I'm working in 3D, using textures in 3D objects then exporting as PDF doesn't give you the results you need — the suggested beginRaw() and endRaw() route might not give you the results you desire either. Sometimes you want an actual bitmap, and sometimes you might need that bitmap to have a transparent background too, as you might be making a visual to be used as an overlay or composited with other imagery.
Thankfully there is a technique we can use, though it needs to be thought about right at the start of your project as it's a slightly different way to draw to the canvas.
PGraphics and Drawing into an Offscreen Buffer
This approach uses a PGraphics object, created at a larger size than your main window, doing all the drawing in that object, then displaying that PGraphics object scaled down as an image in the main window. This larger PGraphics image can then be saved out, giving you a transparent PNG at high resolution.
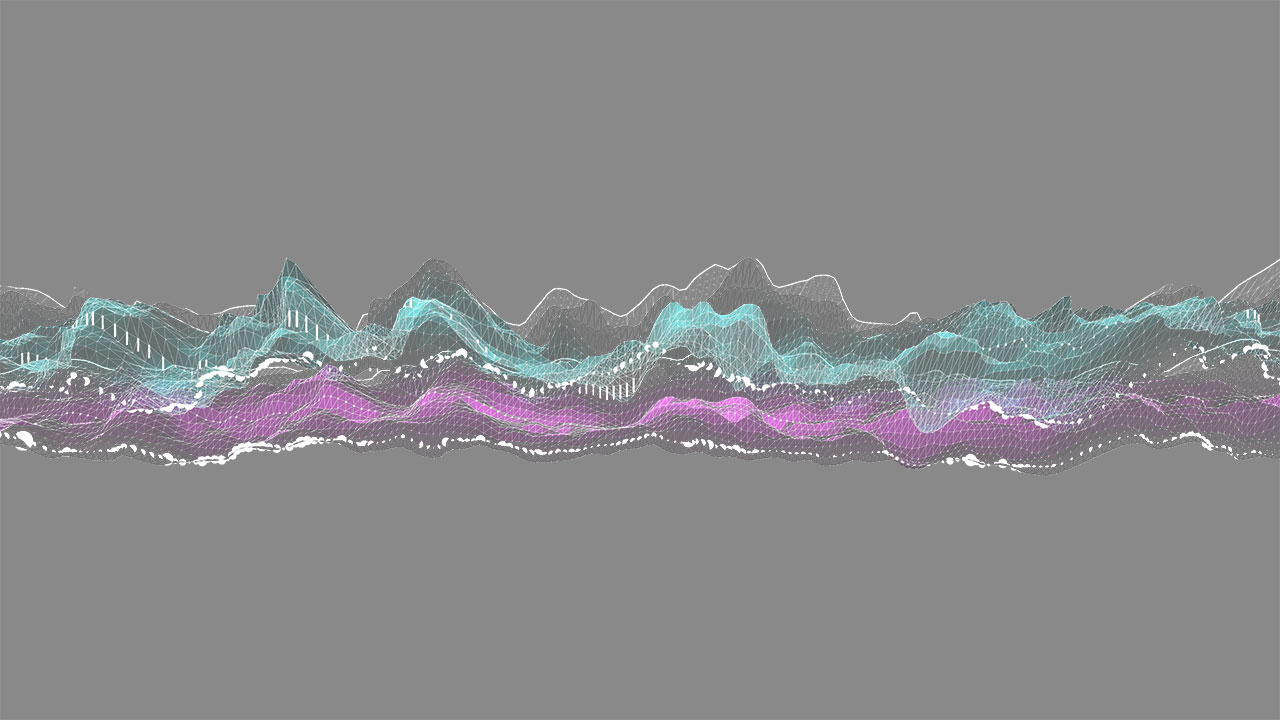
Here's a simple code example which creates such a PGraphics object populated with some random 3D cubes which we can then save out by pressing the 's' key.
PGraphics hires;
int w = 600;
int h = 600;
int scaler = 6;

void settings(){
  size(w,h,P3D);
}
void setup(){
  hires = createGraphics(w*scaler,h*scaler,P3D);
}

void draw(){
  background(0);
  hires.beginDraw();
  //hires.clear();
    hires.colorMode(HSB,255);
    hires.smooth(8);
    hires.lights();
    hires.translate(hires.width/2,hires.height/2);
    hires.rotate(radians( sin(frameCount/100.0)*180 ));
    hires.fill(noise(frameCount/10.0)*255,100,255);
    hires.noStroke();
    float boxSize = noise(frameCount/10.0)*200;
    hires.pushMatrix();
      float x = sin(frameCount/20.0)*hires.width/2*noise(frameCount/10.0);
      float y = sin(frameCount/10.0)*hires.height/2*noise(frameCount);
      hires.translate(x,y);
      hires.box(boxSize,boxSize,boxSize);
    hires.popMatrix();
  hires.endDraw();
  image(hires,0,0,hires.width/scaler,hires.height/scaler);
}

void keyReleased() {
    if (key == 's'){
      hires.save("hires.png");
    }
}
We start by creating our hires PGraphics object using the createGraphics() method, stipulating a width and height at a scaler that we've defined at the top of the code. We also state whether this is a P2D or a P3D based PGraphics object.
hires = createGraphics(w*scaler,h*scaler,P3D);Our hires canvas is now setup ready for drawing into.
In our main draw loop we do the usual thing of clearing the background with a color, in this case black. This doesn't effect our hires canvas at all.
Next we begin our code to draw into the hires canvas by issuing the command beginDraw(). All our drawing code needs to go within beginDraw() and endDraw();
We then do whatever drawing we need using the usual drawing techniques, only this time we prepend hires at the front as we're drawing into the hires object, not the main, usual screen object.
After endDraw() all our drawing is done, but if we were to leave it there we wouldn't see anything on screen, so we need to draw our hires canvas on screen simply by treating it as an image, but scaled back down so it fits our screen like this:
image(hires,0,0,hires.width/scaler,hires.height/scaler);So now we're drawing into a large canvas and we can see the results on screen. All we need to do now is save our hires canvas out to a PNG. This is done by defining the 's' key to save the file:
void keyReleased() {
    if (key == 's'){
      hires.save("hires.png");
    }
}
You should now be able to open up this hires PNG in Photoshop or similar to find it's nice and large with a transparent background.
One other thing to mention is the use of the clear() method, which is commented out in the above code. Think of this like using background() but instead of applying a block colour on the background it will clear the canvas on each loop but leave it transparent — perfect for animations or if you're using classes and arrays to draw multiple things to the stage.
This technique is pretty powerful, especially if you want to export different transparent layers out that you may want to composite later — even if they're not high resolution.